Example Contents
The example folder contains a demo scene demonstrating the features of Tycoon Tile. A few scripts and tools are included. The example provides as a good starting point for building your game with Tycoon Tile.
Camera
The demo scene comes with a camera script that allows you to easily navigate around in the scene, in a similar way the editor camera works.
Use WASD to move around
Hold shift to use the boost function which speeds up the camera movement.
Hold the right mouse button to pan and tilt the camera
Terraforming tool
![]()
The terraforming tool demonstrates how to schedule terrain operations and what each operation does. Selection size can be adjusted with the scroll wheel or with the UI slider. Edits can be made by holding the left mouse button and dragging the mouse up or down while having tiles selected.
The terraforming tool has two modes:
- Smooth edit
- Cliff edit.
When smooth edit is selected, the terraforming tool will raise or lower tiles while keeping connected tile surfaces uninterrupted. It will not create new cliffs. Tiles outside the selection will thus also be affected.
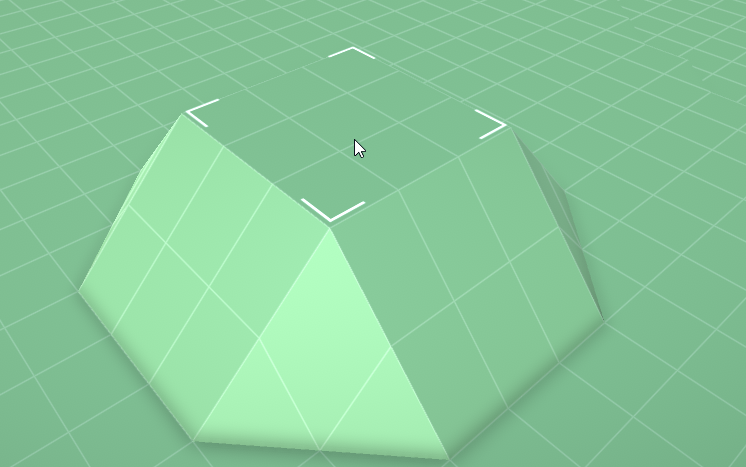
When cliff edit is selected, only the tiles within the selection will be edited and new cliffs will be generated on the edge of the selection.
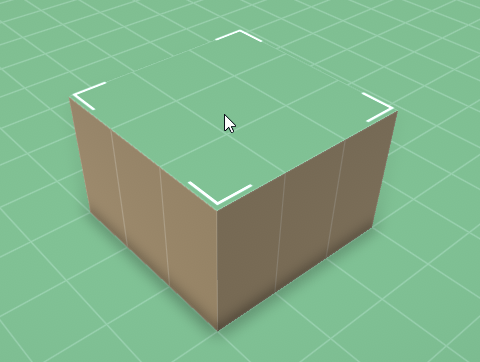
Note that when only a single corner is selected, the terraforming tool will always behave as if it is in cliff mode.
Painting tool
![]()
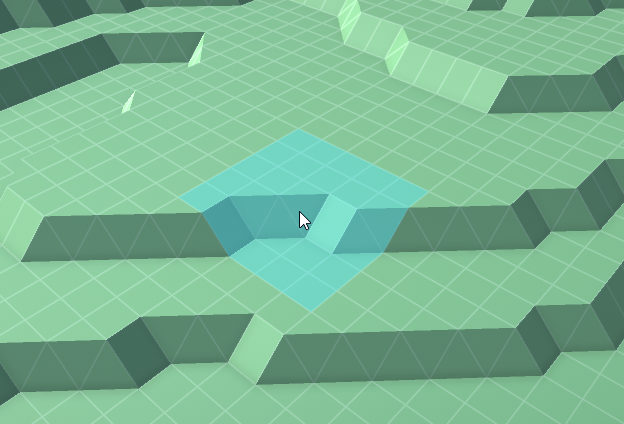
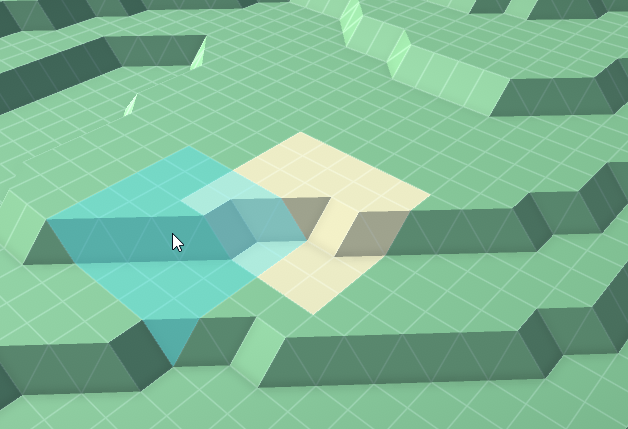
The painting tool demonstrates assignment of terrain types to tiles using a brush. Brush size can be adjusted with the scroll wheel, and a terrain type can be selected. Terrain types are painting on the terrain by holding the left mouse button and dragging over the terrain.
Water tool
![]()
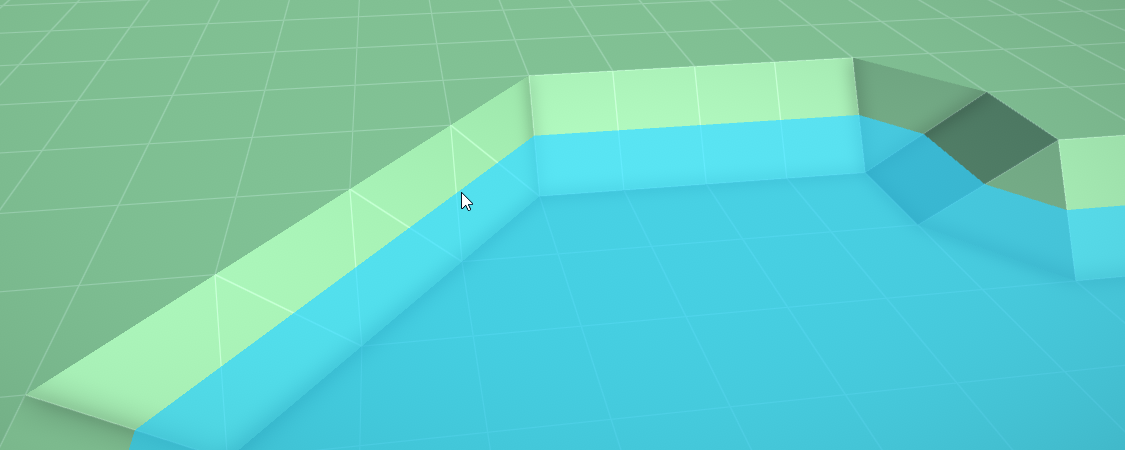
The water tool demonstrates adding, adjusting and removing water on the terrain.
There are 3 supported actions:
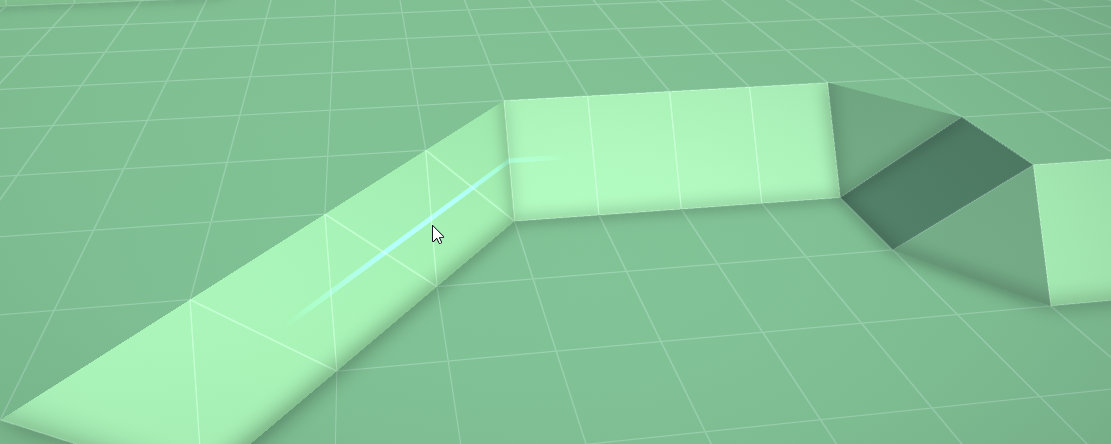
- Creating water body / raising water level: Position the mouse cursor on a cliff or sloped part of the terrain that is not submerged in water. When the left mouse button is clicked, water level will be set to the current mouse cursors vertical position.
- Lowering water level: Position the mouse cursor on a cliff or sloped part of the terrain that is below that the tile water level. When the left mouse button is clicked, water level will be set to the current mouse cursors vertical position. For any tiles where the new water level will be below the terrain, water will be removed for that tile.
- Clearing water body: Position the mouse cursor on the surface of a flat tile that is submerged. When the left mouse button is clicked, water will be cleared for all connected water tiles.
Scenery tool
![]()
The scenery tool demonstrates spawning arbitrary objects on the terrain. It allows different modes of snapping to demonstrate inner tile positioning utility methods. These snapping modes are:
- No snapping
- Edge snapping
- Corner snapping
- Grid snapping
When the grid snapping mode is enabled, a value slider is shown that can be used to configure the number of grid subdivisions to snap to within one tile. A grid subdivision value of 1x1 means that the object will snap to the tile center. A value of 3x3 means that the object will snap to 9 sub grid positions within a tile etc.
Additionally, the object to be placed can be rotated using R (clockwise) and Shift + R (counter-clockwise). A preview mesh is also rendered when the cursor is hovering over the terrain, demonstrating the usage of the PreviewMeshes class addition.